Sometimes it takes a new set of eyes to give you a fresh look at your landscape. It was a friend and gardener who pointed out an unattractive triangle of lawn near the house that I passed every time I drove in. It led to my lovely “Zen” garden, a shady area I had groomed for years. This non-irrigated, not-so-healthy lawn that baked to a dull tan in the summer, added no beauty.
My friend suggested replacing lawn with some tough ground covers, but it was a big an area (50’ x 35’ on the longest sides) and ground covers alone could be as boring as grass. But never the less, his suggestion started the wheels turning. What did I love most in other gardens I had seen?
I loved how my neighbor Linda Krebs had bermed the soil about 18” high on either side of her front walk so that her plants were almost at eye level and arm’s reach. Her entrance was so inviting! You could feel the warm embrace of the garden as you approached her door.
I had also marveled at the rock gardens I had seen at the Denver Botanical Gardens. They used big boulders of course, but most of the plants were planted in between vertical flagstones. It is known as a crevice garden. Plant roots grow deeply between the stones so they become more heat, cold and drought tolerant. Even though Denver’s last frost date is mid-May, I witnessed the crevice garden in full bloom in March! Needless to say, I shamelessly stole these ideas for my own design.
I measured and sketched, ordered boulders and flagstone, had compost and real clay topsoil delivered for building up the berms. I also selected plants that were too crowded or shaded in my existing gardens and moved them to this new sunnier space. Moving rock and clay were tasks that I could not do alone. This required heavy equipment and a skilled crew. What follow are step-by-step pictures of how my new project came together. (Forgive me for not taking “before” pictures, but truly there was little to see but a pitiful lawn.)

Step 1 was to make sure I had an ample amount of compost. Here is about 12 yards of really incredible organic matter that grows happy plants.
Monday, March 16th was the “GO” date. We finally had enough dry weather, bodies and materials available. Our ambitious goal was to have the berms, the stone bench, stone path, crevice garden, and boulders in place in one day.
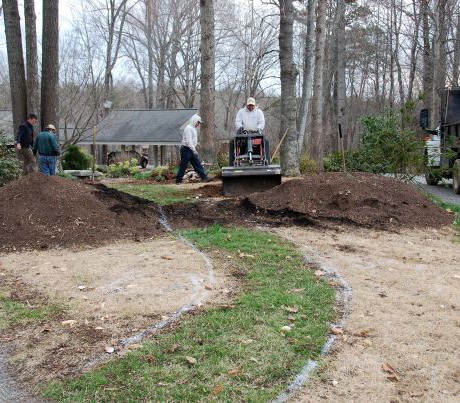
On March 16, 2015, work began on my new garden. My pattern of dead grass shows where I planned for 20″ high berms to be built up on either side of the grass path.
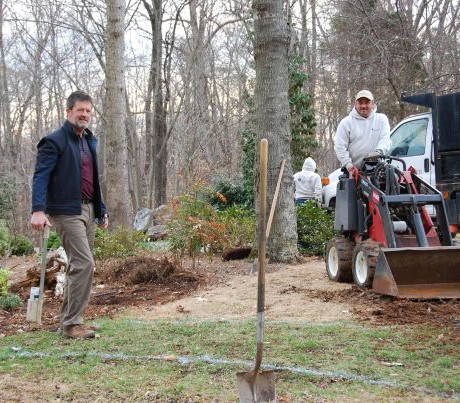
March 16th. Perhaps my best decision was to hire landscape architect, Steve Windham of New Garden Nursery and his crew of talented guys to do the heavy lifting. This tractor was the perfect tool to achieve our goal of getting the soil and boulders put into place in ONE day.
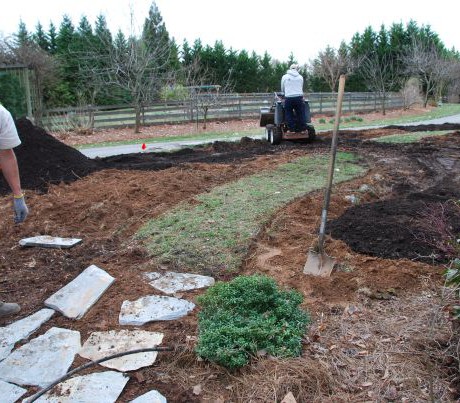
March 16th. The guys extended the stone path from my shady “Zen garden” to where the grass path would flow into the new garden. Meanwhile our tractor driver was spreading compost.
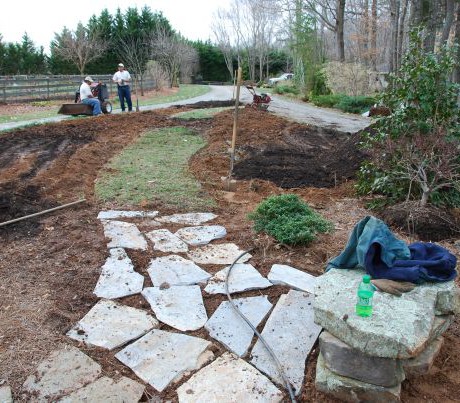
On the right are trees that I had dug from garden spots that were too crowded or shady. These had been held in the compost pile for months awaiting placement in their permanent location.
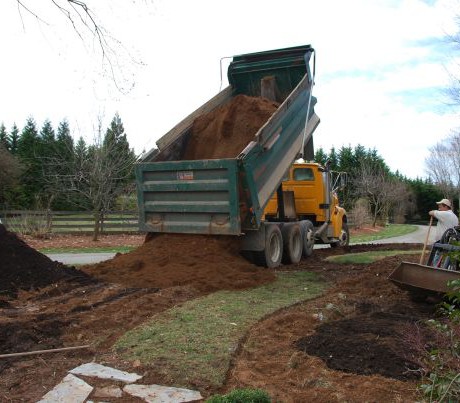
March 16th. Perhaps the scariest part of the day was watching 11 yards of screened top soil (clay) being dumped to build up berms on either side of the path. The tractor moved it all into place, but my formerly green grass path was history.
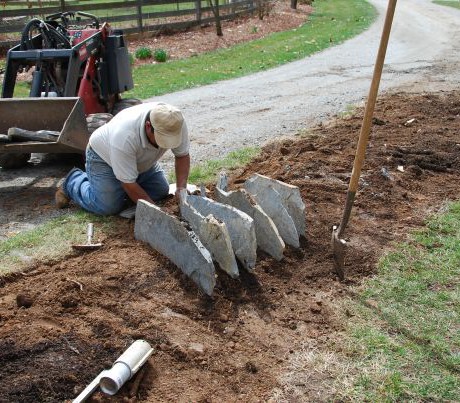
While the tractor was shaping the berms, we began setting stones for the crevice garden. Placing flagstones vertically to build a rock garden was a new concept for all of us. How far apart? At what angle? do we need edging stones too?…I had only seen the finished product at the Denver Botanical Garden, but none of us had done this before. As we set the stones, we filled between them with a mix of compost, clay, sand and Permatil to make sure to create rich soil that would drain well.
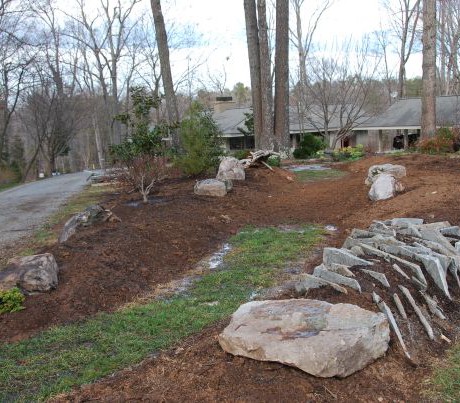
March 16th – Job done! At the end of the day, the berms and 4 palates of heavy stones were all in place. A few of my trees were planted too. Now the challenge was to see how fast I could get enough vegetation growing to cover the mud!
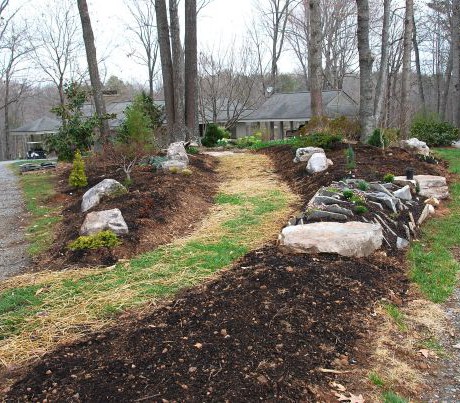
March 23rd. A week after the berms stones were in place, the grass path was seeded & strawed, and the first shrubs were planted. I was still shopping for the perfect low ground cover to go into the hottest spot in the “V” of the gravel driveway (i.e. that spot of black compost in the foreground.)
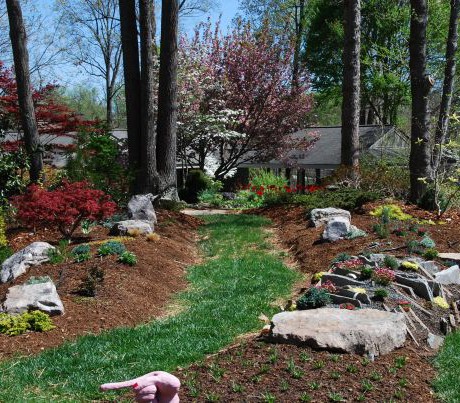
April 11th – Tree weeks later, April is like an awakening! New and old plants were all leafing out. The ground cover I chose for the hottest part of the garden was our native blue-eyed grass planted from 1″ plugs. I knew it had to grow fast to survive before temperatures climbed well into the 80’s (and it did!)
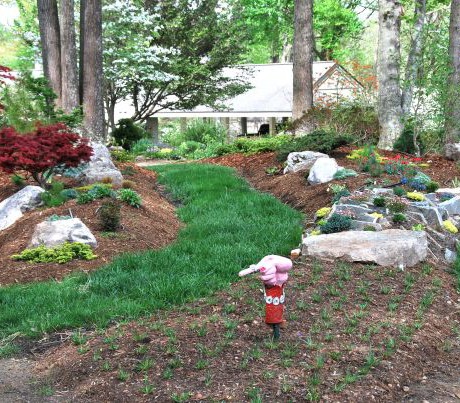
April 18. Grass! Loads of compost and water on this path made the seed pop up quickly. (No one understood my artistic hand pointing “one way” so we did eventually add a “Keep Left” driveway sign underneath.)
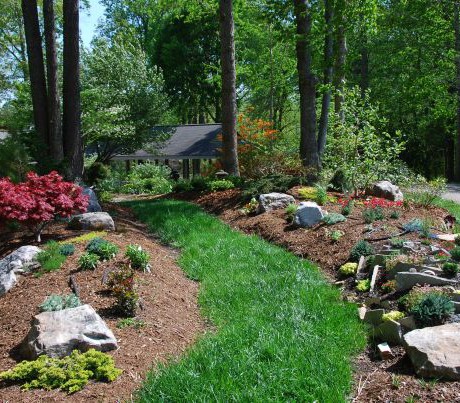
April 21st. Barely 5 weeks after starting this garden, it is already a huge improvement over previous years.
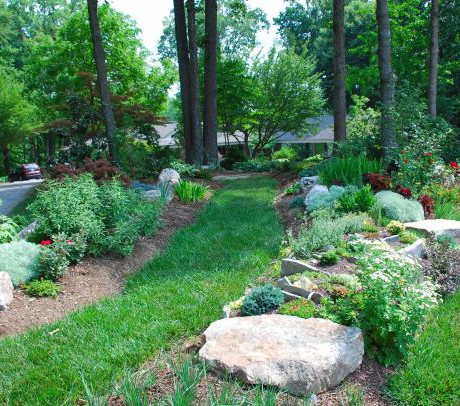
June 24th. 3 months later, annuals and perennials started filling in the open spaces while my trees and shrubs were getting established. I planted dianthus, carex, sedums, coreopsis, coleus, hostas and artemesia. Ahhh, it was starting to feel like an inviting garden walk!
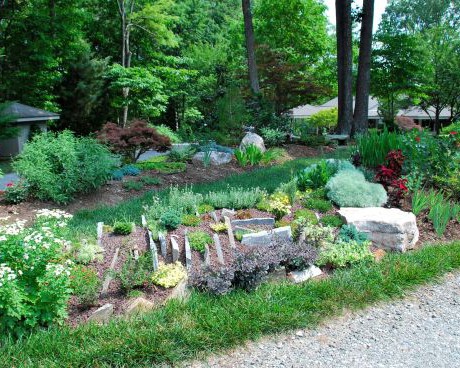
June 24th. Bulbs and corms added foliage texture and color too: bearded iris, roof iris, crocosmia, rain lilies and dahlias. The crevice garden’s baby plants were growing beautifully in spite of the high summer heat, and only occasional hand watering.

Dahlia ‘Karma Irene’ from Brent & Becky’s bulbs, planted bare-root in April, bloomed all summer, even into October. It was definitely the drama queen of the summer garden.

September 11th. The garden is starting to achieve the lush look I wanted. This Coreopsis Big Bang ‘ Full Moon’ spread 3 feet, and the miniature red roses donated by Mom, both bloomed the entire summer.

September 11th. The crevice garden performed as promised. The plant roots went deep between the stones and rarely needed watering. The gravel mulch is relatively permanent, and low maintenance. The stones also protected the only lavender I have ever been able to keep alive through our humid summer.
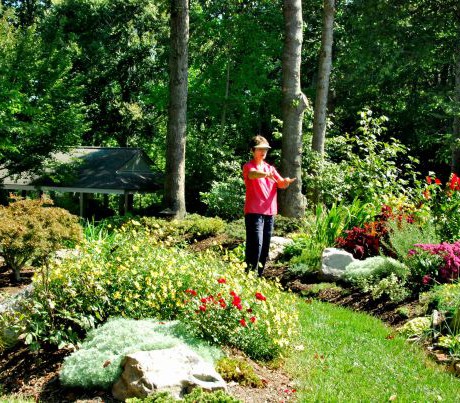
September 11th. A garden is never finished. Here I am already planning what to change to make it even better next year. I really only needed one Coreopsis Big bang “Full Moon” instead of the three I planted. While my new shrubs continue to fill out, I will be looking for more well-behaved, low-maintenance ground covers so I do not need as much mulch.
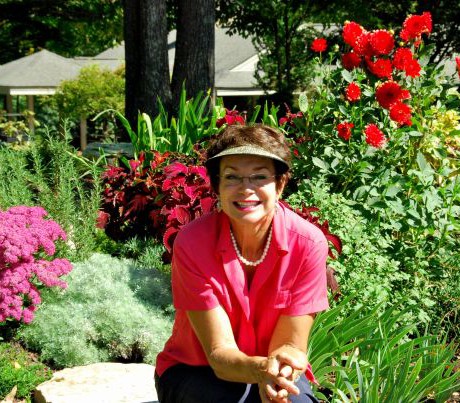
September 11th. Six months after starting this garden, I have to say that I am very happy with the result! Many thanks to Steve Windham & his crew from New Garden Nursery, and my friend Sager West, who laid drip hoses, mulched and planted with me. Thanks too to all the gardeners who continue to inspire me with brilliant ideas and new discoveries.
Gardening classes make a great Christmas gift! I hope you will join me in the garden.
Warmest regards,
Ellen
Ellen Ashley
Gardening Enthusiast, Educator, Speaker, Blogger
Ellen Ashley teaches an annual program of “hands-on” gardening classes on her 10-acre property in Summerfield. Contact her at ellen@learntogarden.anventure.com.